How discounts work in Ensign
Ensign maintains weekly-updated trade prices for every item in its database. Your actual material cost is calculated by applying discount percentages to those trade prices. Discounts can be set at two levels:
- Range level — a discount applied to an entire product range (e.g. all items within a particular manufacturer's cable tray range). These are configured in the Setup menu.
- Product level — a discount applied to an individual item within a job. These are set on the takeoff screen while working inside a project.
This article covers range-level discounts. For product-level discounts, see Changing Material Discounts.
Opening the discount table
- 1
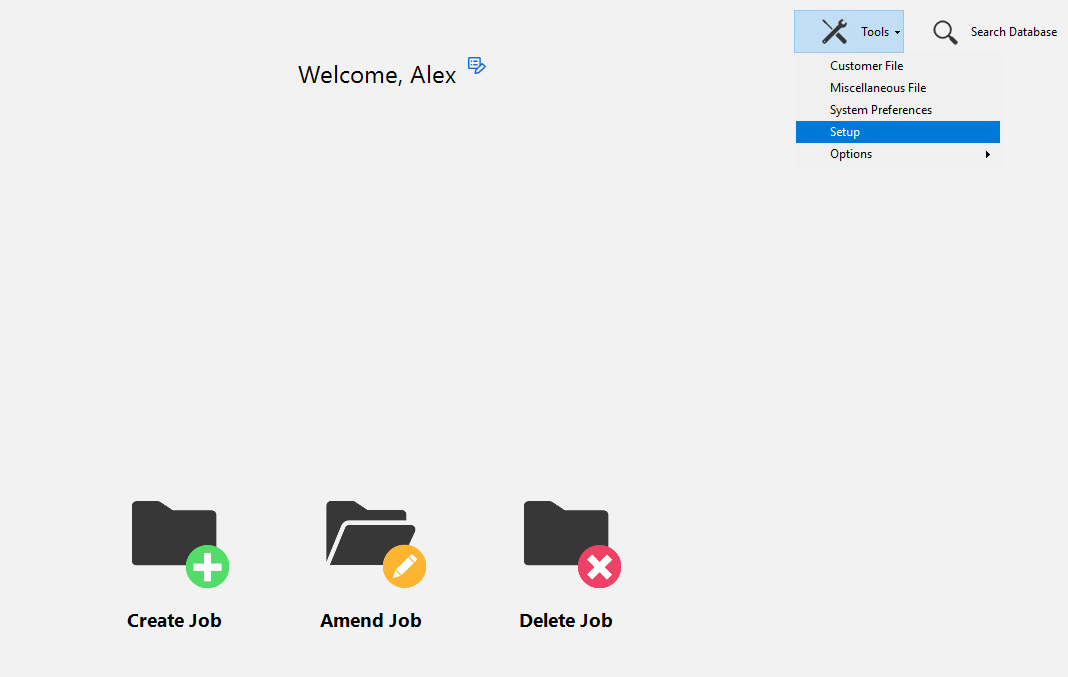
From the main screen, click the Tools menu at the top of the screen.
- 2
Select Setup from the dropdown.
- 3
On the Setup page, click the Discounts button.
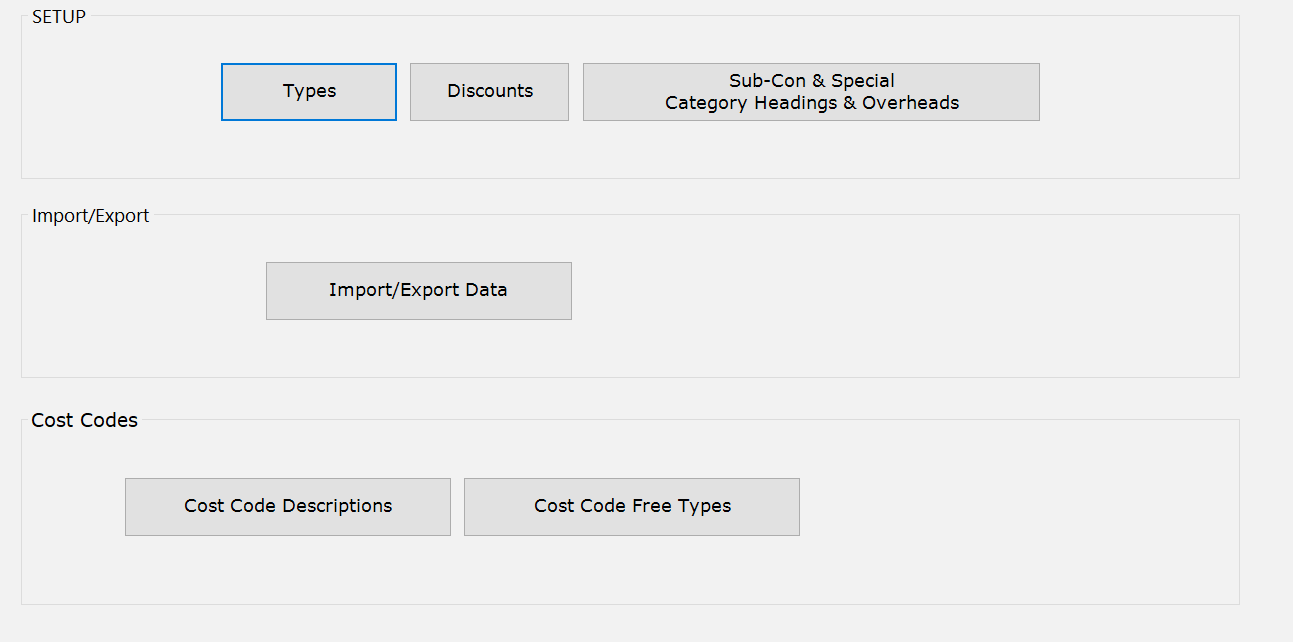
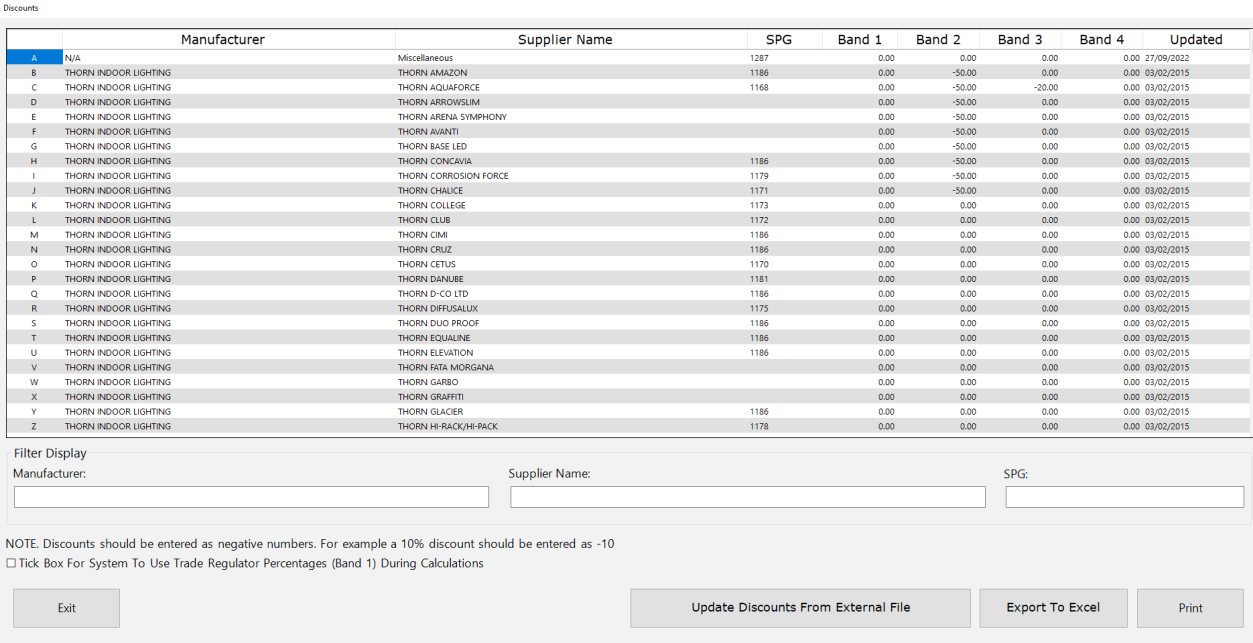
This opens the discount band table, which lists every product range in the database along with its current discount values.
Understanding discount bands
Each product range has four discount bands:

| Band | Purpose |
|---|---|
| Band 1 | Trade price regulator. This is managed by Ensign and cannot be edited. |
| Band 2 | Your primary discount. This is where you enter the main discount you receive from your supplier. |
| Band 3 | Additional discount applied on top of Band 2. Use this for secondary discounts. |
| Band 4 | A further additional discount applied on top of Bands 2 and 3. |
How bands work together (stepping stones)
The bands act as stepping stones — each band is applied sequentially to the result of the previous one. For example, if you receive an 82% primary discount with an additional 30% off the remaining amount:
- Band 2: Enter
-82to apply an 82% discount to the trade price. - Band 3: Enter
-30to apply a further 30% discount to the price after Band 2 has been applied.
This means the bands compound rather than simply adding together.
Discounts must be entered as negative numbers. For example, a 60% discount should be entered as -60. If you forget the minus sign, the discount will not be applied correctly.
Editing range discounts
- 1
In the discount band table, locate the product range you want to update. You can click any column header to change the sort order, making it easier to find what you need.
- 2
Click into the relevant band column (usually Band 2) for that range and type in your discount as a negative number (e.g.
-40for 40%). - 3
If you have additional discounts on top of the primary one, enter them into Band 3 and Band 4 as needed.
- 4
Press Enter or click away to confirm the value. Changes are saved to the master discount table and will apply to all future jobs.
You can also sort the table by manufacturer or supplier name to quickly find the ranges you need. Click the column header to toggle the sort order.
Updating discounts from an external file
At the bottom of the discount band table, you will see an Update Discounts From External File button. This allows you to import discount values from a file rather than entering them manually — useful if your wholesaler provides discount schedules in a compatible format.
What happens next
Any discounts you set here become the default for all new jobs. When you calculate a job, Ensign applies these range-level discounts to every item that falls within the relevant product range.
If you need to override a discount for a specific item or a specific job, you can do so from the takeoff screen. See Changing Material Discounts for details on the three methods available.
Ensign's support team will help you set up your initial discounts when you first start using the software. The information in this article is provided so you can review and amend your discounts at any time.